Did you know that adjusting your camera’s ISO sensitivity can dramatically transform your photos? Whether you’re a novice or an experienced photographer, understanding this often-overlooked feature can take your photography to the next level. With the ability to control light sensitivity, ISO settings allow you to capture stunning images in low-light conditions and add depth to well-lit scenes. In this post, we’ll talk about the intricacies of ISO sensitivity, uncovering its potential to enhance your photography skills and elevate the impact of every shot.
Key Takeaways
- Understanding ISO sensitivity is crucial for capturing high-quality images in various lighting conditions.
- Adjusting your camera’s ISO settings can significantly impact your photographs’ final outcome, so it’s essential to familiarize yourself with its functionality.
- When using ISO in photography, consider its relationship with shutter speed and aperture to achieve the desired exposure and creative effects.
- Optimizing ISO usage involves finding the right balance between sensitivity and image quality, especially in low-light situations.
- Advanced concepts related to ISO sensitivity can further enhance your photography skills and expand your creative possibilities.
- Don’t fall for common myths and misconceptions about ISO; instead, focus on practical tips and techniques to improve your photography skills, especially if you’re a beginner.
Understanding ISO Sensitivity
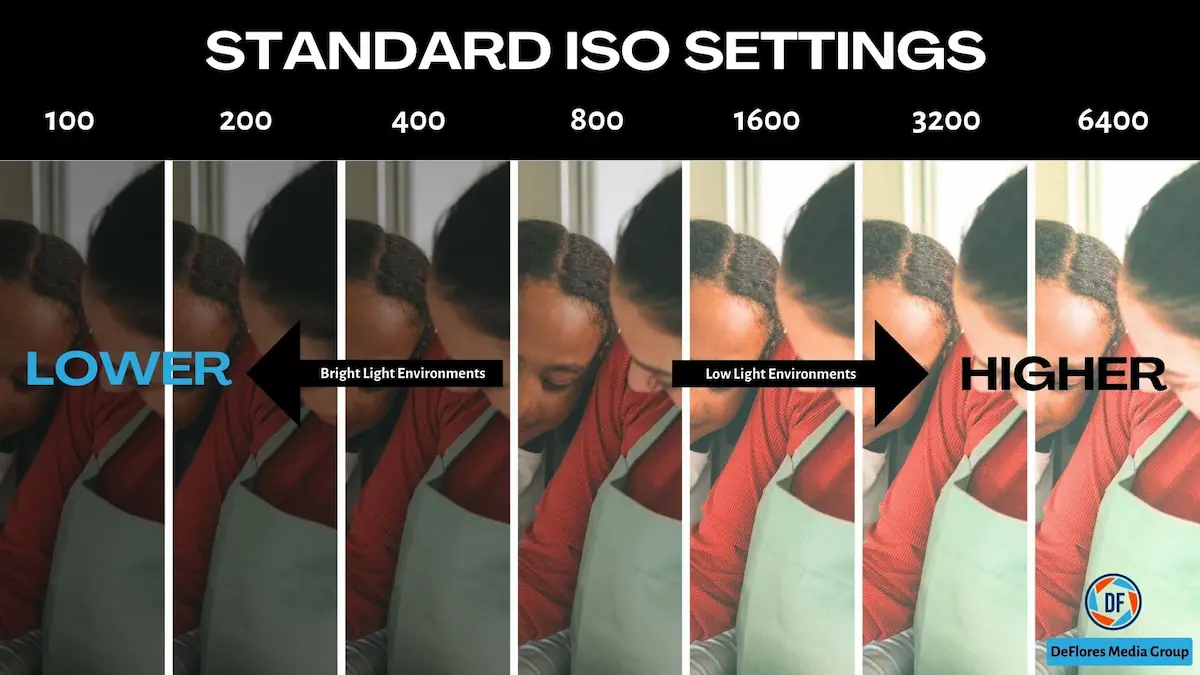
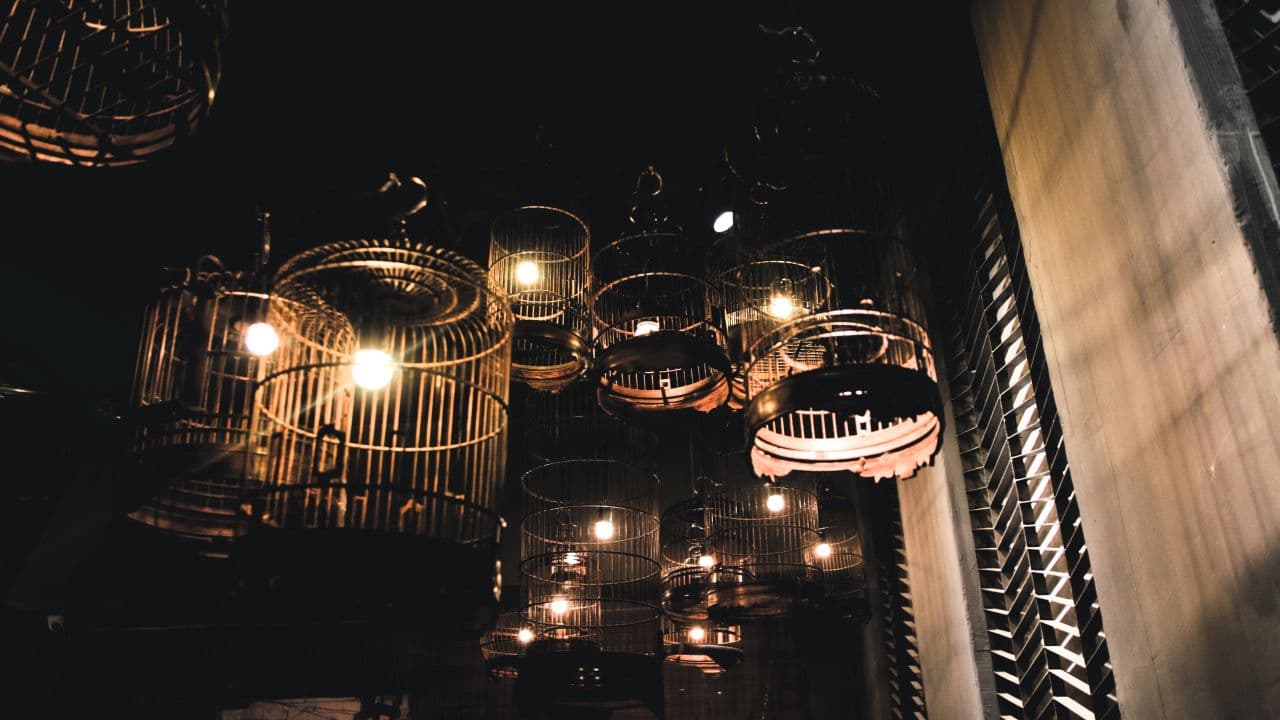
It directly affects the quality of your photographs. A higher ISO makes your camera sensor more light-sensitive, resulting in brighter images. Still, it can also introduce unwanted visual disturbances known as image noise.
High iso sensitivity levels lead to more noticeable image noise, especially in darker areas of a photo. To mitigate this issue, you can reduce the noise during post-processing using software tools or by choosing the lowest possible ISO setting when capturing images.
Balancing iso sensitivity with aperture and shutter speed is crucial for achieving your photos’ desired brightness and overall exposure. Adjusting these settings allows you to control how bright or dark your images appear while managing any potential issues related to high ISO levels.
ISO Settings and Camera Functionality
Your camera offers different ways for you to control it. One is the Auto ISO feature, which can be very convenient when shooting in changing light conditions. Setting a maximum ISO limit ensures that the camera doesn’t go above a certain level, which can be helpful for fast-paced shooting situations.
On the other hand, manual adjustments give you complete control over your iso settings. This allows you to adjust based on specific lighting conditions, giving you precise exposure control. For example, manually increasing the ISO level can help brighten your images without using a flash if you’re shooting in low light.
It’s important to note that different cameras have varying iso rating ranges. When purchasing a new camera or considering an upgrade, paying attention to this factor is essential. Some cameras handle high ISO levels better than others, so understanding your camera’s capabilities is crucial for achieving optimal results in various shooting conditions.
ISO and Photography Techniques
Low Light Mastery

Increasing the ISO helps your camera capture more light when shooting in low light. Still, it can also lead to grainy or noisy photos. To strike a balance, adjust your aperture and shutter speed accordingly. For instance, if you raise the ISO, consider using a smaller aperture or faster shutter speed to prevent overexposure.
Keep an eye on your camera’s histogram to avoid overexposure when using higher ISO in low-light scenarios. This will help you ensure the exposure is not too bright or dark.
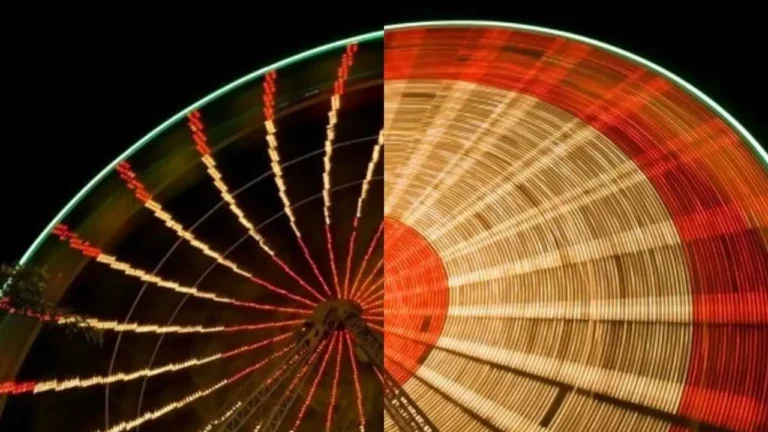
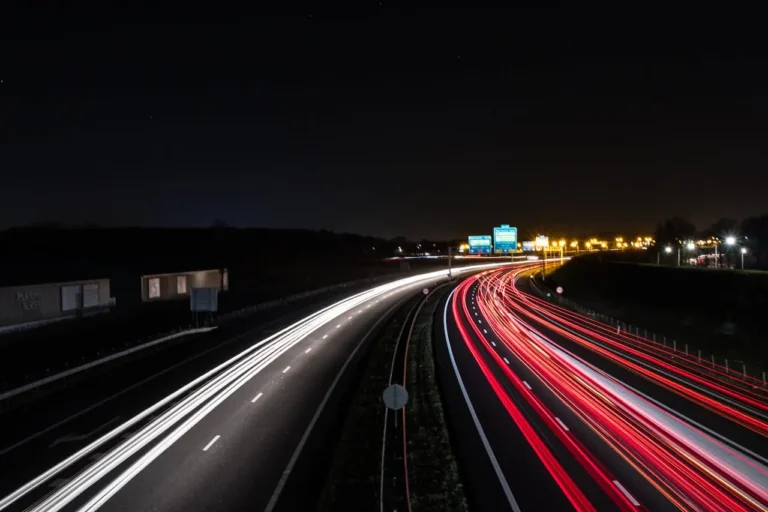
Night Photography
In night photography, experimenting with longer exposures and higher ISO values enables you to capture intricate details even in dimly lit environments. Using a tripod becomes crucial as it prevents any unwanted blurriness caused by hand movements during long exposures at high ISO settings.
When capturing nighttime scenes with high ISOs, pay attention to how much noise is in your images. You may need to use noise reduction techniques during post-processing to minimize unwanted graininess.
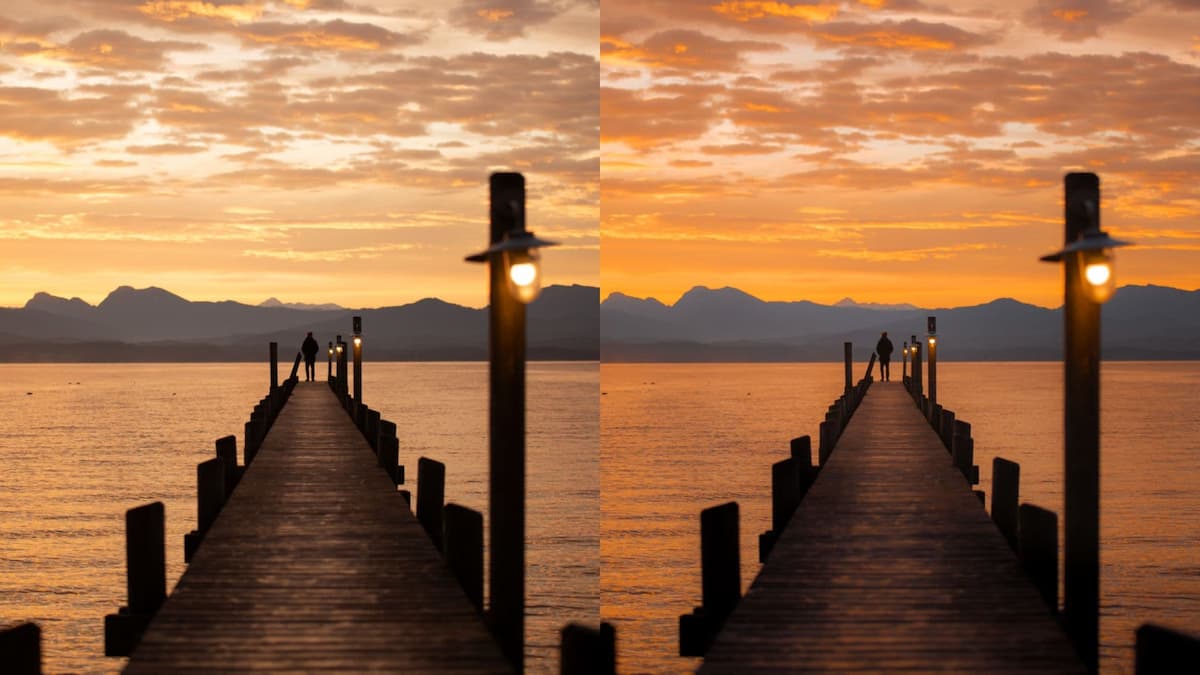
Landscape Photography
For landscape photography under good lighting conditions, opt for lower ISO values. By doing so, you maintain better overall image quality while ensuring proper scene exposure. Remember that alongside adjusting the ISO, you should also consider fine-tuning your aperture and shutter speed settings according to the available natural light.
ISO, Shutter Speed, and Aperture
Relationship
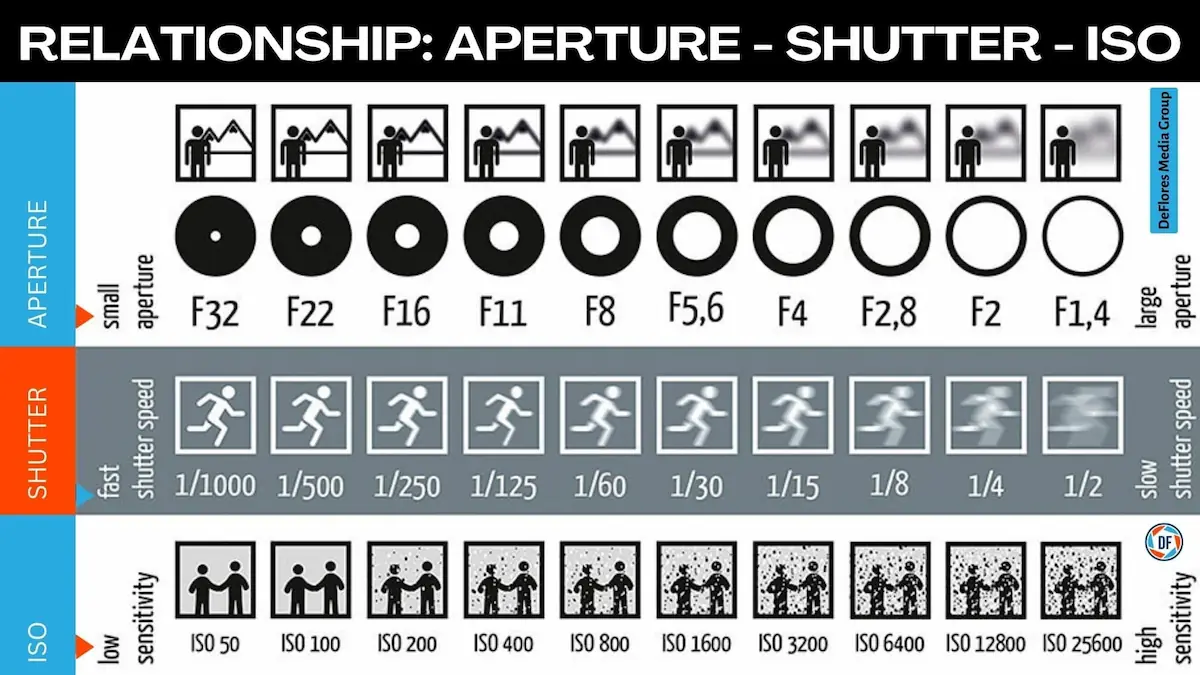
When adjusting ISO sensitivity, you need to consider its relationship with both shutter speed and aperture. For instance, using a lower ISO is crucial when aiming for sharp, detailed images with minimal motion blur. On the other hand, if you want intentional motion blur effects in your photos, a higher ISO setting can help achieve that.
Adjusting the shutter speed is crucial to complement your chosen ISO setting. When using a low ISO for sharp images, ensure that your shutter speed is fast enough to capture the scene without blurring due to camera or subject movement. Conversely, appropriately adjusting the shutter speed becomes essential when intentionally introducing motion blur with a higher ISO setting.
Understanding how they interact with each other and with aperture values is vital. Lowering the ISO can contribute to a greater depth of field in an image. However, balancing this effect requires thoughtful consideration of aperture settings, too.
Optimizing ISO Usage
Choosing Right Setting
Always aim to use the lowest possible ISO for your shot. This helps minimize noise in your photos, resulting in a cleaner and sharper image. If you need to use a higher ISO, use noise reduction tools available on your camera or through post-processing software.
To optimize exposure and reduce noise, consider adjusting other settings like aperture and shutter speed before increasing the ISO. You can achieve well-exposed images without introducing unnecessary digital noise by finding the right balance between these three elements.
Minimizing Noise
Choosing the appropriate ISO number for the specific scene minimizes noise. For example, when shooting in bright daylight, stick to your camera’s native ISO (usually 100 or 200) to maintain optimal image quality. However, when shooting in low light conditions or at night, gradually increase the ISO while keeping an eye on any unwanted graininess that may appear.
Post-processing also plays a significant role in reducing digital noise caused by high ISO settings. You can enhance image quality by using editing software that offers features designed to reduce noise while preserving important details within your photographs.
Enhancing Quality
Understanding how film ASA relates to digital ISO is essential for enhancing photo quality across different mediums. When working with film cameras, selecting the best ISO setting involves considering factors similar to those used with digital sensors but adapted accordingly for analog equipment.
Advanced ISO Concepts
Film ASA vs Digital
Smaller sensors in digital cameras can produce more noise at higher ISOs. On the other hand, larger sensors offer better performance at high ISO settings. For instance, a full-frame camera with a larger sensor will generally handle high ISO levels better than a smaller APS-C sensor.
Considering sensor size is crucial when choosing an appropriate ISO setting for your photography needs. If you’re using a camera with a smaller sensor, avoid extremely high ISO settings to minimize the appearance of noise in your photos.
Sensor Size Influence
It’s essential to understand that higher ISO doesn’t always mean better quality in your images. While increasing the iso sensitivity allows for faster shutter speeds and shooting in low light conditions, it can also introduce unwanted digital noise or graininess into your photos.
Due to technological advancements and image processing capabilities, modern cameras are designed to handle high ISOs much better than older models. However, it’s essential to be aware of the limitations of your specific camera when pushing its iso sensitivity limits.
Common Myths and Misconceptions
Several myths can lead to confusion. Let’s debunk some of these misconceptions.
ISO Myths Debunked
You might have heard you should always use a high ISO for low light conditions or fast action shots. While a higher ISO does make the camera more sensitive to light, it also introduces digital noise, which can degrade image quality. In reality, you should strive to use the lowest possible ISO setting for well-lit scenes or when capturing still subjects. This helps produce images with minimal noise and maximum clarity.
It’s also commonly believed that balancing ISO with other exposure settings is optional. However, finding the right balance between ISO, aperture, and shutter speed is essential for achieving well-exposed photographs. For instance, if you increase the ISO to compensate for low light conditions without adjusting the aperture or shutter speed accordingly, your photos may end up overexposed.
Remember that while a high ISO sensitivity allows you to capture images in dim lighting or freeze motion in fast-paced environments, it’s equally important to understand when lower settings are more appropriate.
Practical Tips for Beginners
When to Use High or Low ISO
Experiment with different iso sensitivity levels to understand their impact on image quality. Higher ISO settings are helpful in low-light conditions but can introduce more digital noise. Lower ISO settings produce cleaner images but require more light.
Adjust the iso sensitivity according to the shooting environment. For example, if you’re shooting indoors without a flash, you may need to increase the ISO setting to capture enough light. On the other hand, when shooting outdoors in bright sunlight, using a lower ISO setting can help maintain image clarity.
Utilizing Different Levels
In auto mode, your camera adjusts the iso sensitivity based on available light and flash usage. This feature is handy when moving between different lighting conditions rapidly.
It’s also possible to set limits for auto adjustments so that you have control over the range of iso sensitivity your camera uses automatically. Doing this prevents your camera from selecting an excessively high or low ISO setting that may not suit your preferences or needs.
Auto ISO with Flash
When using a flash in changing lighting conditions, utilizing auto ISO can help ensure well-exposed photos without manually adjusting your camera’s settings every time there’s a shift in light intensity.
Closing Thoughts
You’ve now comprehensively understood ISO sensitivity and its pivotal role in photography. You can elevate your photography skills to new heights by mastering ISO settings. Remember, adjusting ISO isn’t just about brightening or darkening your images; it’s about controlling the quality and mood of your photos. So, go out there and experiment with different ISO settings to see how they impact your shots. Embrace the flexibility that ISO offers and use it to unleash your creativity.
Now that you’ve unlocked the power of ISO sensitivity, grab your camera and apply these techniques. Feel free to push the boundaries and explore the full potential of ISO in your photography. Keep practicing, keep experimenting, and most importantly, keep capturing those breathtaking moments! Happy shooting!
Frequently Asked Questions
What is ISO sensitivity?
ISO sensitivity refers to the camera’s ability to capture light. A higher ISO setting makes the sensor more sensitive to light and sound in low-light conditions. However, it can introduce digital noise. Conversely, lower settings are ideal for well-lit environments.
How does ISO affect photography techniques?
ISO impacts exposure and influences shutter speed and aperture settings. Higher ISO allows faster shutter speeds in low light but may compromise image quality. Understanding how to balance these elements is crucial for achieving desired results in different shooting conditions.
Is it true that increasing ISO always improves image quality?
Not necessarily. While a higher ISO can brighten images in dim lighting, it also increases the likelihood of introducing digital noise or graininess into photos. It’s essential to balance capturing enough light and maintaining image clarity when adjusting the ISO setting.
Can I rely solely on automatic ISO settings?
While automatic settings can be convenient, they may not always produce optimal results as they don’t account for creative preferences or specific shooting conditions. Manually adjusting the ISO allows photographers greater control over their images’ exposure and overall quality.
What are practical tips for beginners regarding optimizing ISO usage?
Understanding how lighting situations impact your chosen ISO setting is vital for beginners. Experimenting with various settings under diverse conditions will help you grasp how each adjustment affects your final images – enabling you to make informed decisions based on your creative vision.